HELP CENTER
Profile Settings
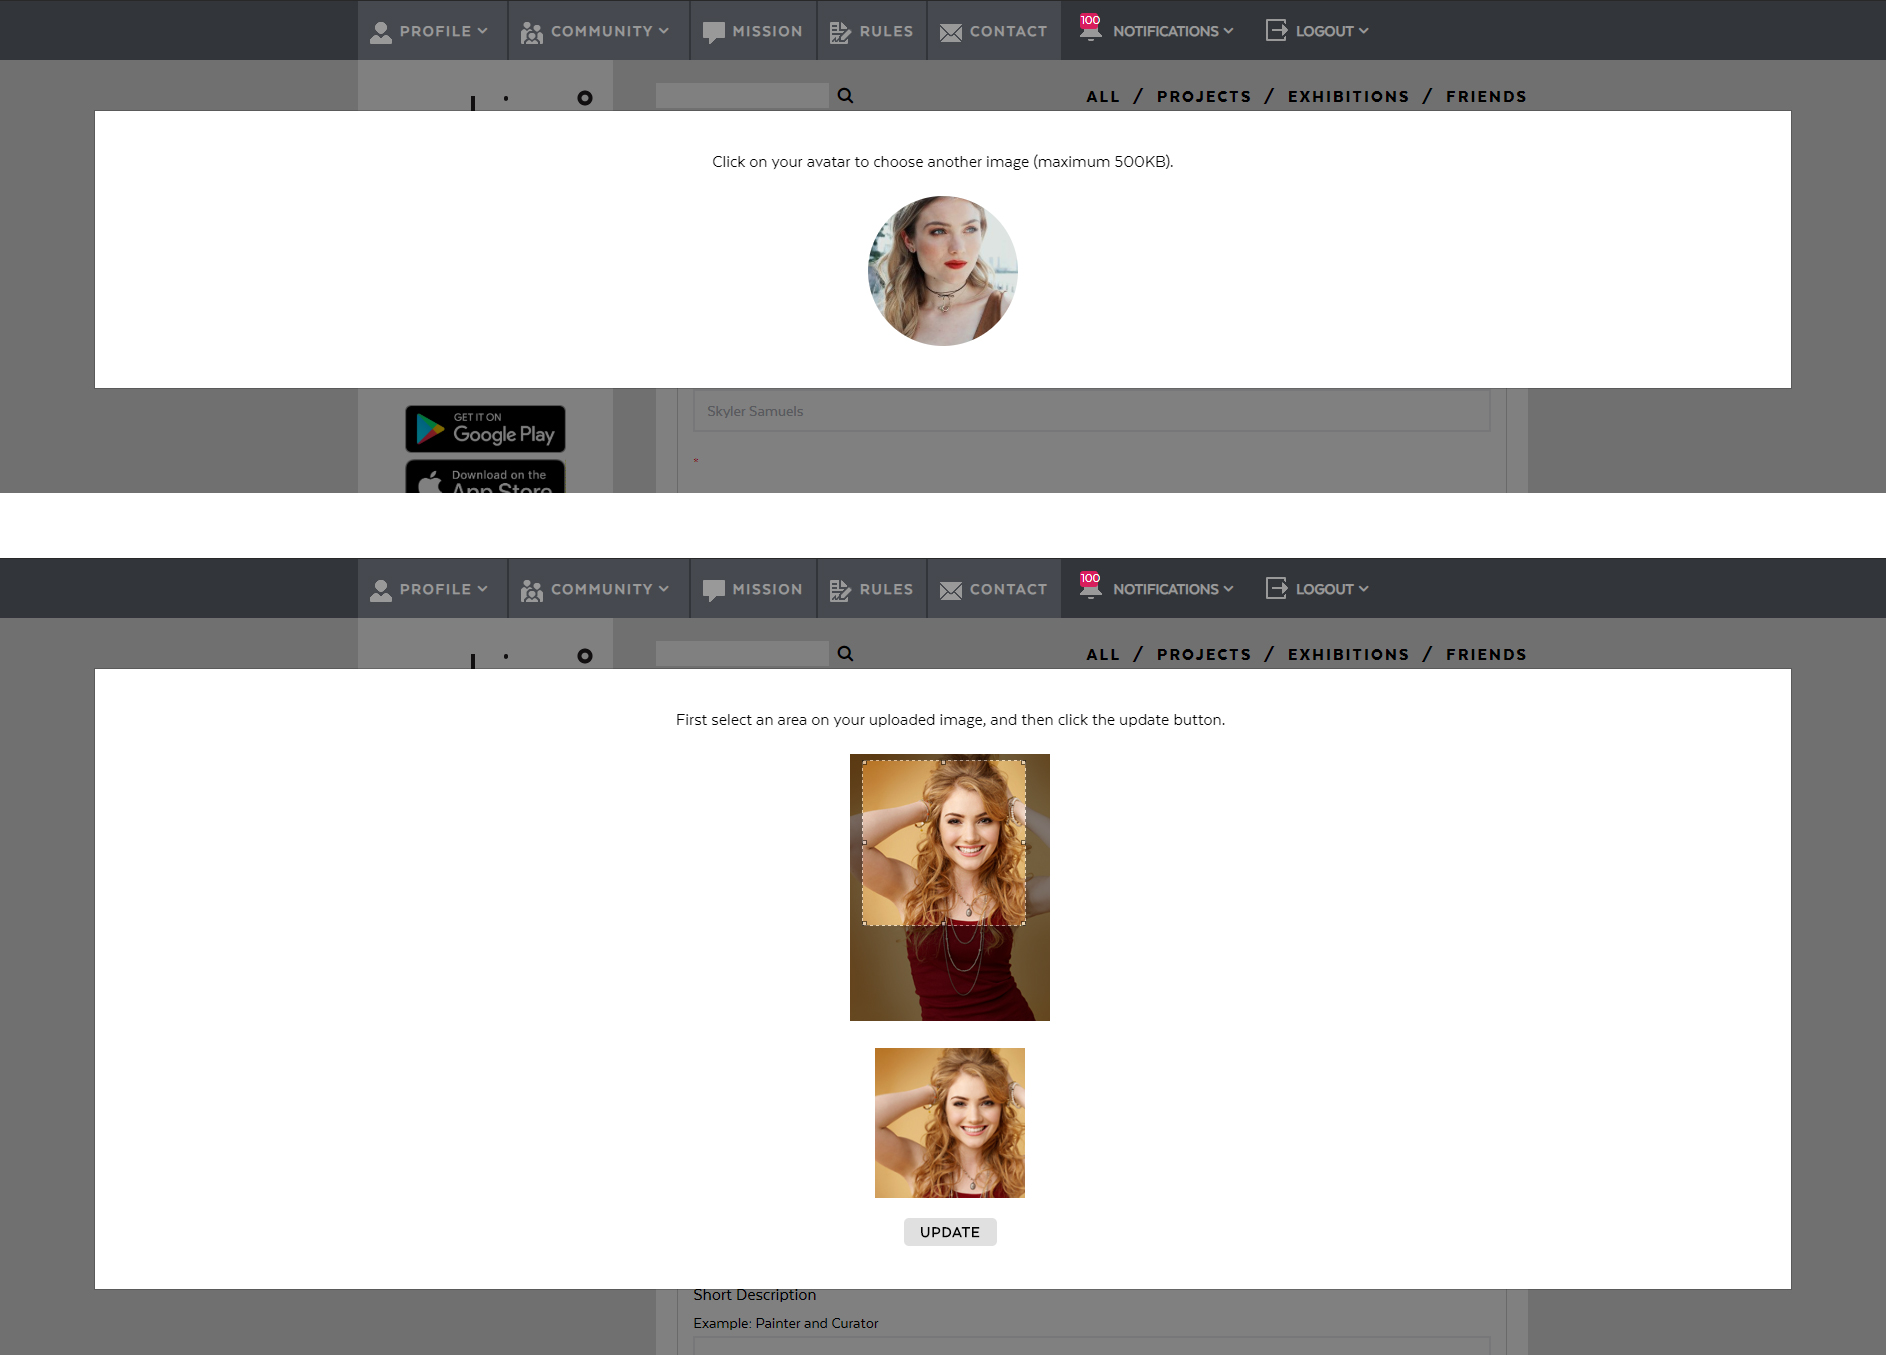
Change profile picture
To change your profile picture, follow these steps:
- On the main menu, select the Profile item and choose the option Settings;
- Click the link To change your profile picture, click here. This will open a new window;
- Choose a new picture by clicking on your current avatar. If the image is smaller than 500 KB, a new window will pop up;
- Select an area on your uploaded image and save your new avatar by clicking the Update button;
- That’s it! Your avatar is now updated.
Exhibition Management
Add a new project to an existing exhibition
To add a project to an existing exhibition, follow these steps:
- Click the plus button in the upper-right corner of the project or navigate to the individual page of the project;
- In the Add In Exhibition area, click on the name of the exhibition in which you want to add the project;
- That’s it! The project has been added to your exhibition! To edit, delete, or reorder projects, use the exhibition’s editing page.

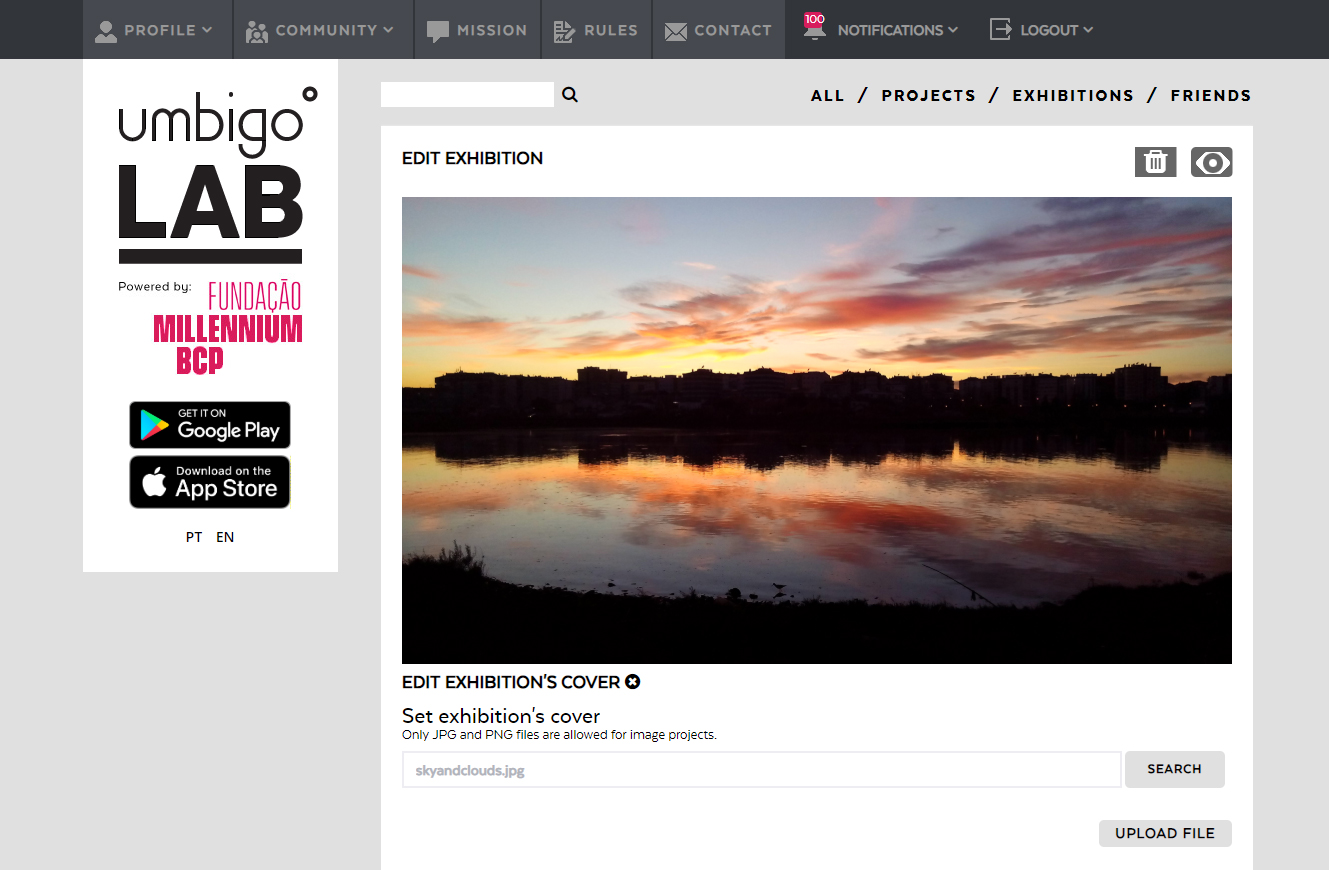
Change an exhibition’s cover
To change the cover of a specific exhibition, follow these steps:
- On the main menu, select the Profile item and choose the option My Exhibitions;
- Click the Edit button in the upper-right corner of the exhibition to open its edit page;
- Click the link Edit Exhibition’s Cover;
- Choose a new image by clicking the Search button;
- Click the Update button and wait for the page to refresh;
- Done! Your exhibition’s cover is updated.
Create a new exhibition from a project
To create a new exhibition from a project, follow these steps:
- Click the plus button in the upper-right corner of the project or navigate to the individual page of the project;
- In the Add in a New Exhibition area, fill in the Title and Description fields with the name of your new exhibition and a short description of it, respectively;
- Click the Create Exhibition button;
- That’s it! Your exhibition was created from the project you chose! To edit and make it public, use the exhibition’s editing page.
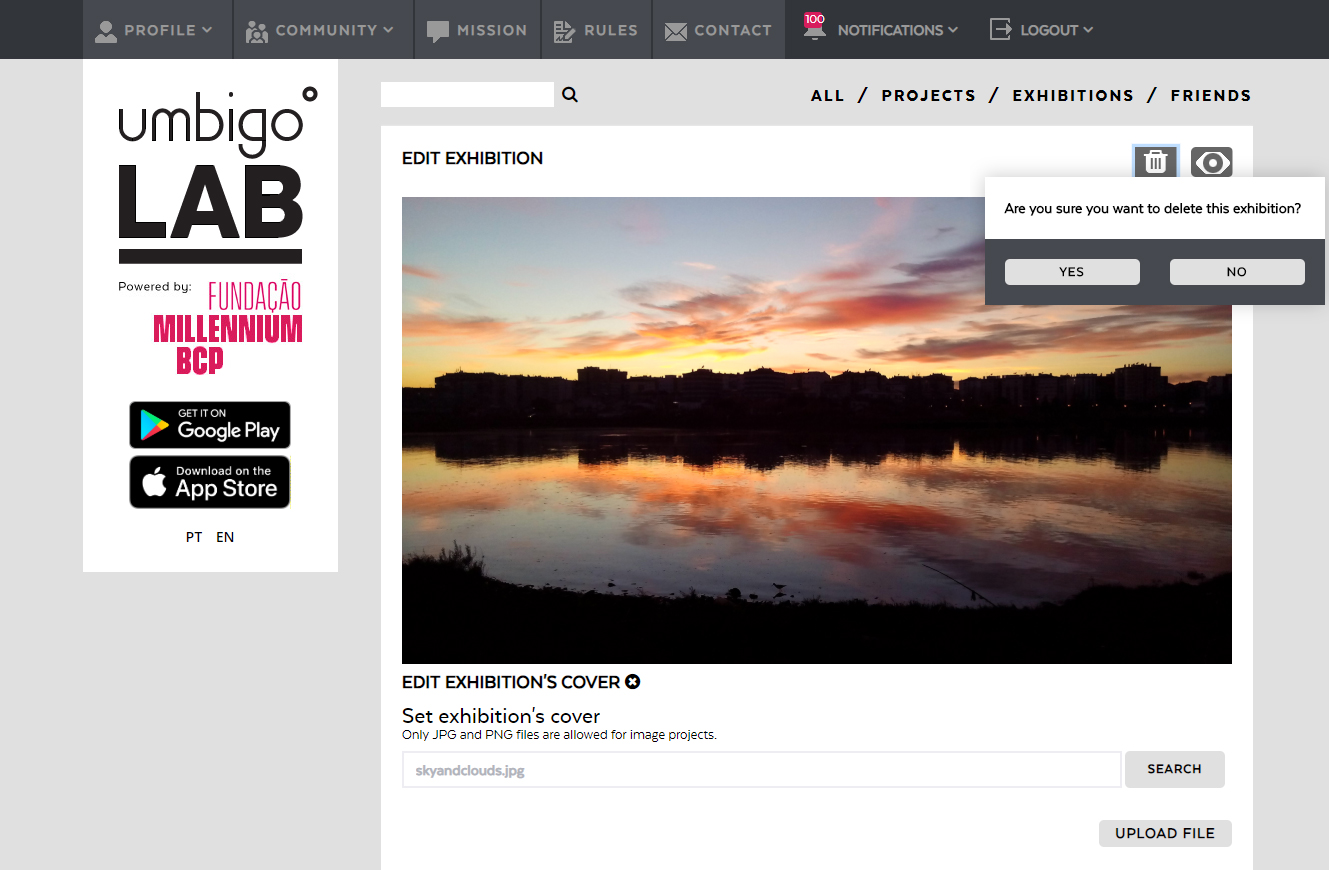
Delete an Exhibition
To delete an exhibition, follow these steps:
- On the main menu, select the Profile item and choose the option My Exhibitions;
- Click the Edit button in the upper-right corner of the exhibition to open its edit page;
- In the upper-right corner of the page, click the Delete button and the Yes button to confirm;
- Done! Your exhibition was deleted.
Project Management
Change a project’s cover
To change the cover of a specific project, follow these steps:
- On the main menu, select the Profile item and choose the option My Projects;
- Click the Edit button in the upper-right corner of the project to open its edit page;
- In the List of Images, move to the first position the image you want to be the cover of the project;;
- Click the Update Image List button and wait for the page to refresh.
- Done! Your project’s cover is updated.

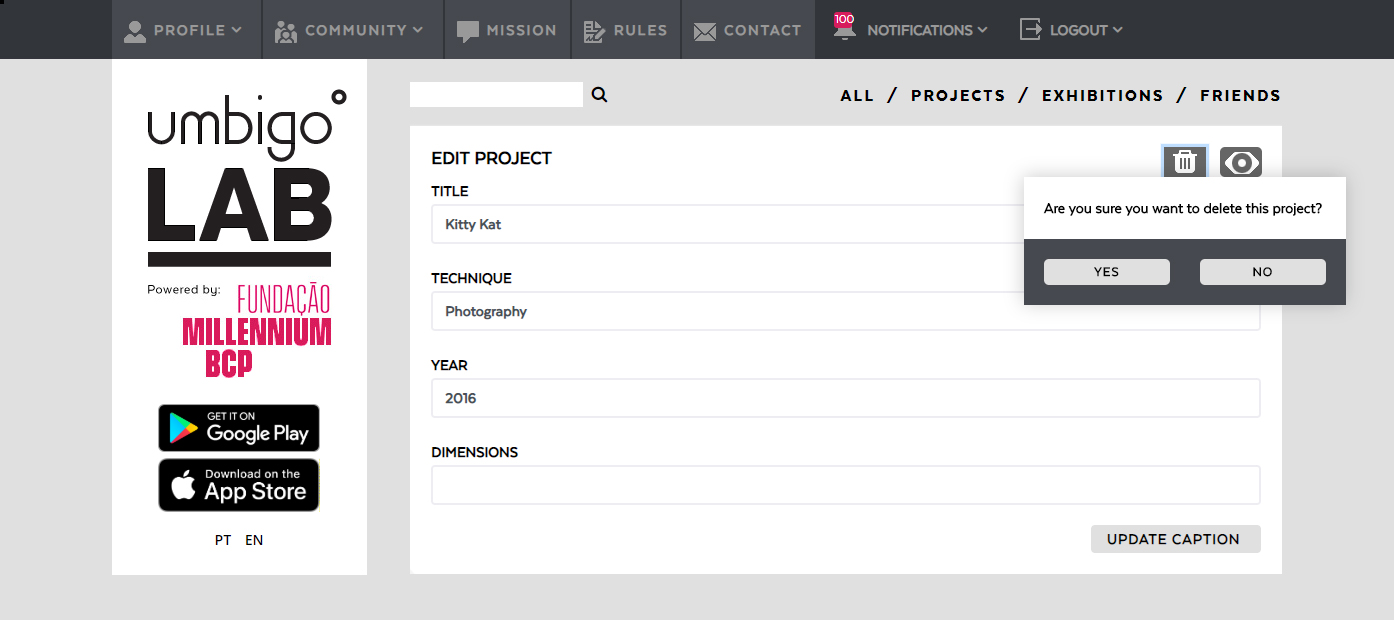
Delete a project
To delete a project, follow these steps:
- On the main menu, select the Profile item and choose the option My Projects;
- Click the Edit button in the upper-right corner of the project to open its edit page;
- In the upper-right corner of the page, click the Delete button and the Yes button to confirm;
- Done! Your project was deleted.
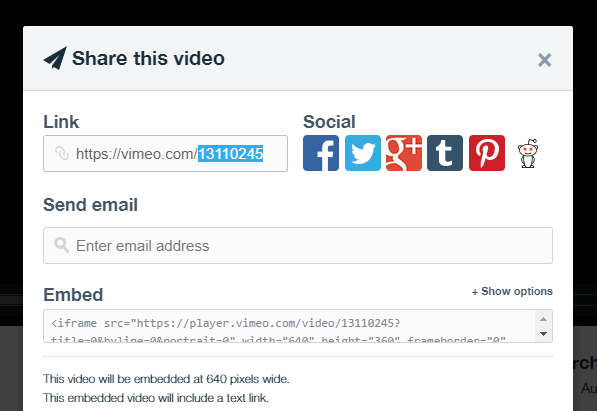
Embed a Vimeo video
To embed a Vimeo video, follow these steps:
- On the main menu, select the Profile item and choose the option My Projects;
- In the Project Type tab, choose the option Vimeo;
- In the URL text box, enter the ID of the video you want to share, which corresponds to the set of digits that is located after the share link bar (Example: 13110245);
- Fill in the remaining text boxes with the details of the project;
- Click the Submit button and wait for the reload of the page. Done!
Embed an YouTube video
To embed an youTube video, follow these steps:
- On the main menu, select the Profile item and choose the option My Projects;
- In the Project Type tab, choose the option YouTube;
- In the URL text box, enter the ID of the video you want to share, which corresponds to the set of characters that is located after the share link bar (Example: MaL4JQp7Uww);
- Fill in the remaining text boxes with the details of the project;
- Click the Submit button and wait for the reload of the page. Done!
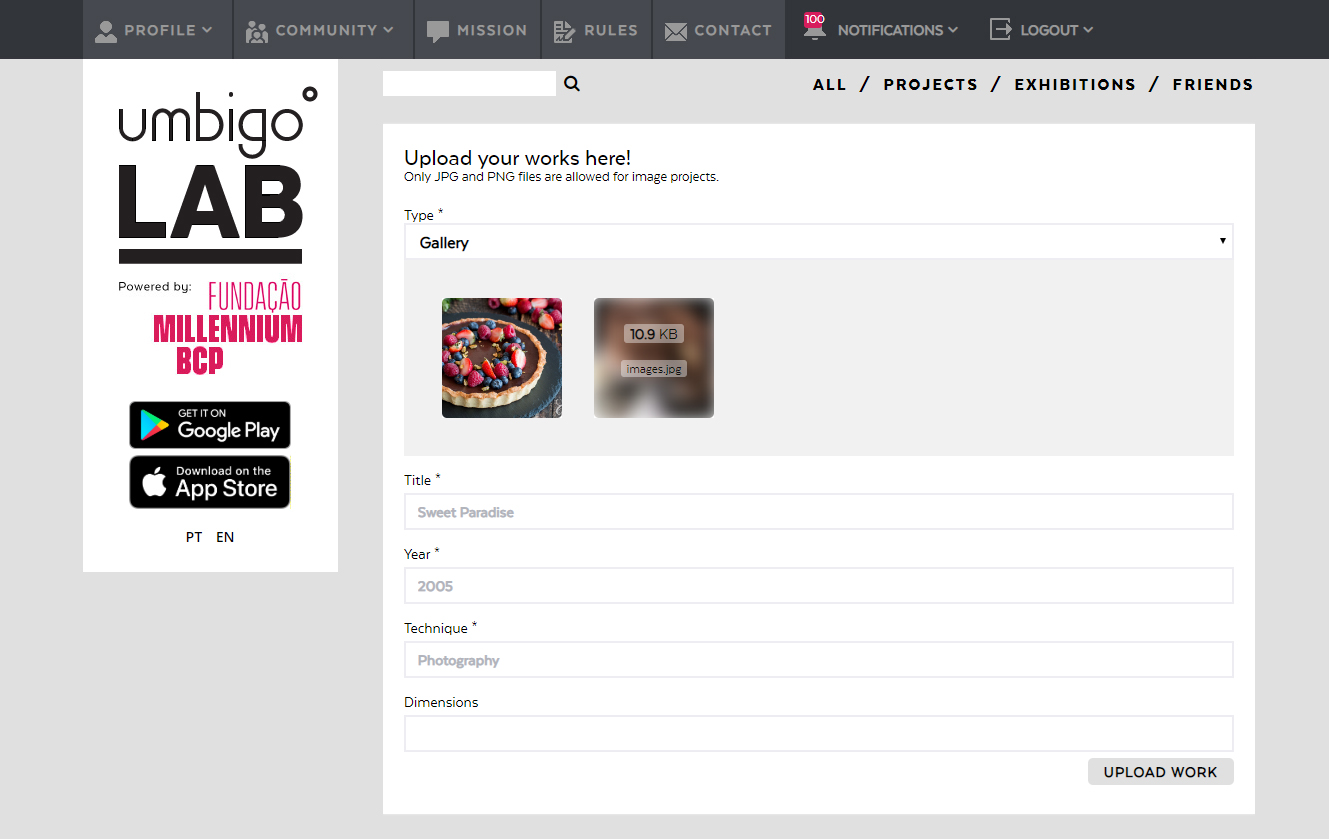
Submit a new project
To submit a new project, follow these steps:
- On the main menu, select the Profile item and choose the option My Projects;
- Choose the type of your new project:
- If your project is a video, you have to choose one of the following options: YouTube or Vimeo and follow the instructions given in the help center;
- If your project is static and composed of just one image, choose the option Image and select the image you want to by clicking the Search button;
- If your project is static and composed of more than one image, choose the option Gallery and select its images, taking into consideration that the first image uploaded will be used as cover of the project.
- Fill out the title, year, description, technique and dimensions (opcional) of your new project;
- Click the Upload Project and wait for the page to refresh;
- Done! Your new project was submitted.